


Read more
5 Tips to Make Your Ebike Rides More Comfortable
An e-bike is already a massive step up in ride enjoyment compared to a traditional bicycle. The motor flattens hills, extends your range, and turns headwinds into afterthoughts. But comfort isn't automatic. Even the best e-bike can feel harsh, cramped, or fatiguing if it isn't properly set up for your body and riding style.
The good news: small, inexpensive adjustments can transform your ride from "fine" to "I never want to get off." Here are five tips to make every e-bike ride more comfortable.
1. Dial In Your Saddle (and Saddle Position)
The saddle is where you spend most of your time on the bike. An uncomfortable saddle can ruin a ride in minutes. A well-chosen, properly positioned saddle makes hours disappear.
Choose the Right Saddle
* Width matters: Saddles come in different widths to match your sit bones. A saddle that's too narrow puts pressure on soft tissue; one that's too wide chafes. Many bike shops have a sit-bone measuring tool.
* Shape and padding: More padding isn't always better. Too much soft foam can compress and create pressure points. Look for a saddle with firm support and cutouts or channels that relieve perineal pressure.
* Gender-specific designs: Women's saddles are typically wider and shorter, with different cutout placement. Men's saddles are narrower. But individual anatomy matters more than gender labels—try what feels right.
Adjust Saddle Height
* The simple test: When seated with your heel on the pedal at the bottom of the stroke, your leg should be straight. When pedaling with the ball of your foot, your knee should have a slight bend (about 25–30 degrees).
* Too low: Strains your knees and reduces pedaling efficiency.
* Too high: Causes hip rocking, which leads to lower back pain and saddle sores.
Adjust Saddle Angle and Fore-Aft Position
* Angle: Start with the saddle level (parallel to the ground). A slight tilt (1–3 degrees) downward can relieve pressure for some riders; upward tilt helps others stay in position. Never tilt drastically—it causes sliding or excessive pressure.
* Fore-aft: When the pedals are horizontal, your forward knee should be directly above the pedal spindle (the "knee-over-pedal" position). Adjusting this changes your center of gravity and hand pressure.
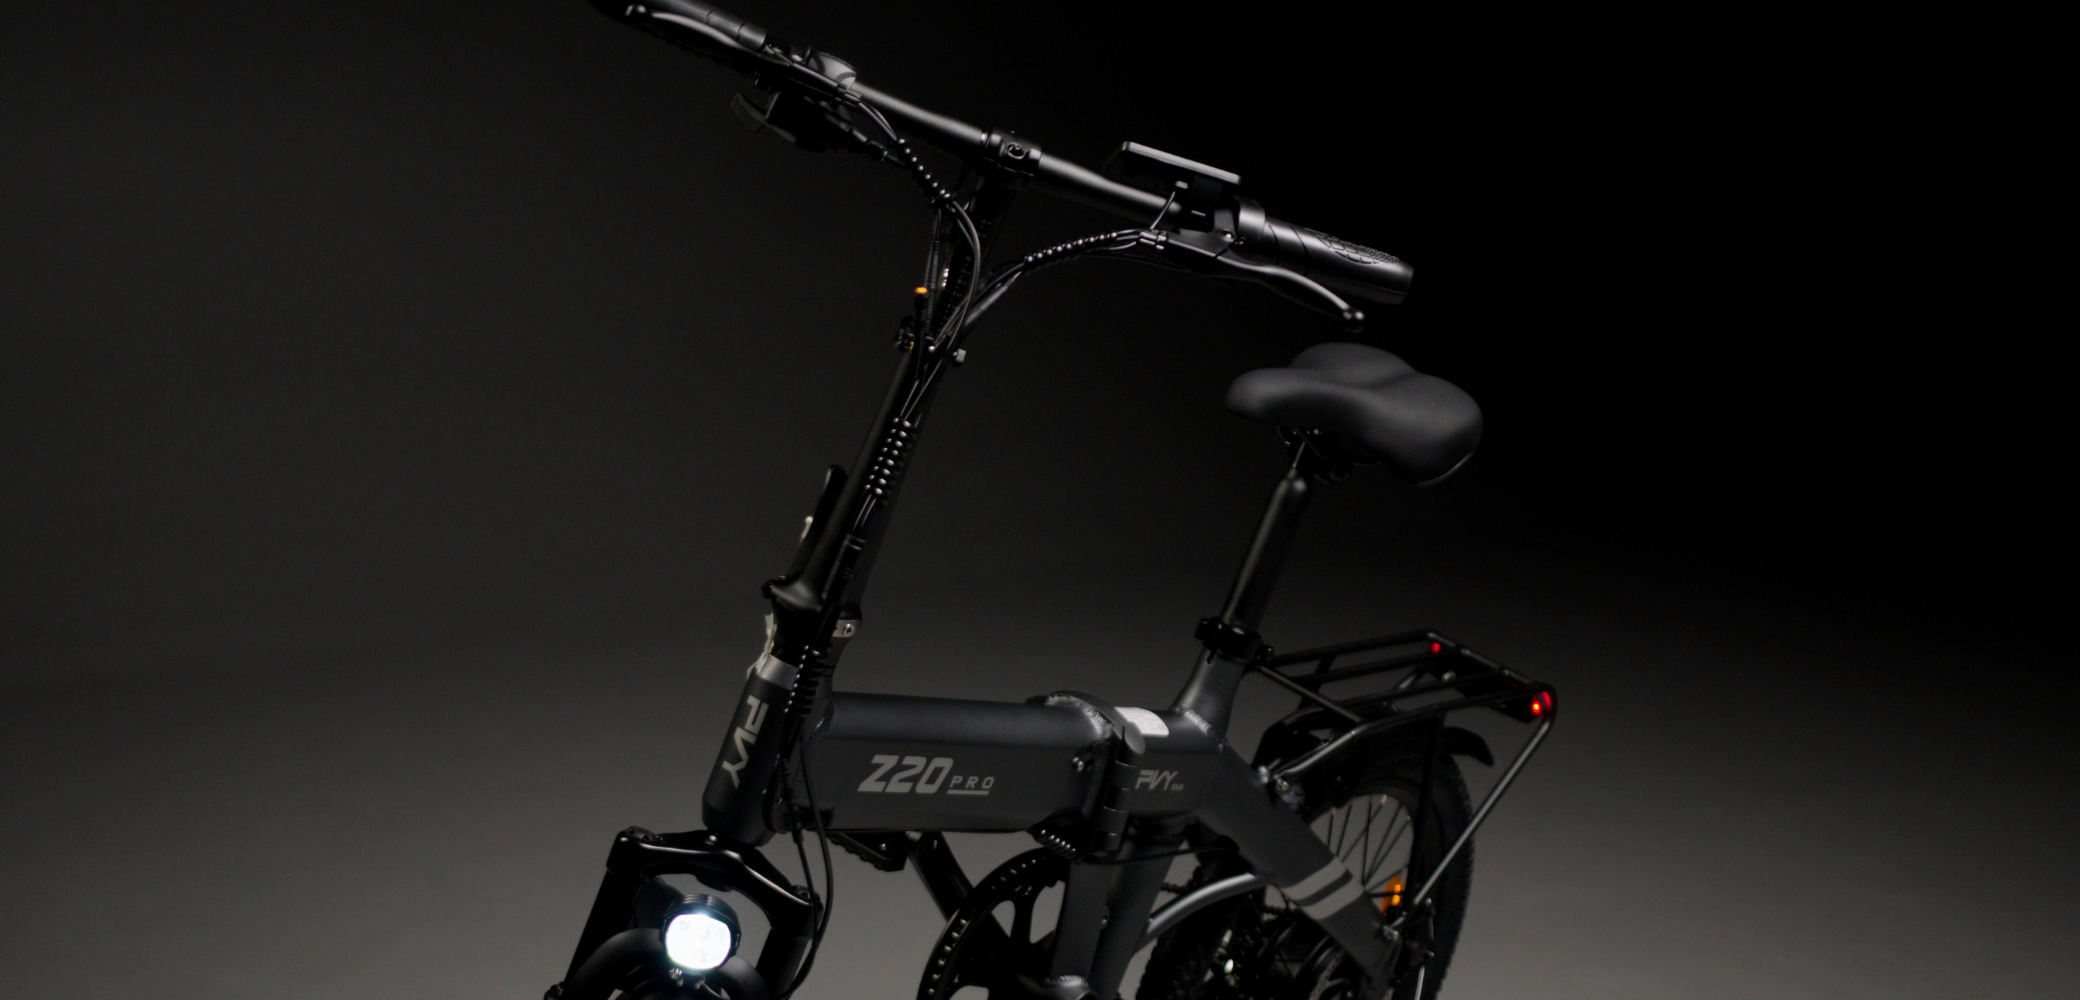
Consider a Suspension Seatpost
E-bikes are heavier and faster, so bumps transmit more energy to your body. A suspension seatpost (like the widely available telescoping or parallelogram designs) absorbs road vibration and takes the sting out of potholes and curb drops. PVY models with solid frames benefit greatly from this upgrade.
2. Perfect Your Handlebar Setup
Hand and wrist discomfort is a common complaint among cyclists. The solution lies in handlebar height, angle, and grip design.
Adjust Handlebar Height
* Higher handlebars put you in a more upright, relaxed position—less weight on your hands, less strain on your neck and back.
* Lower handlebars are more aerodynamic but put more weight on your hands and wrists.
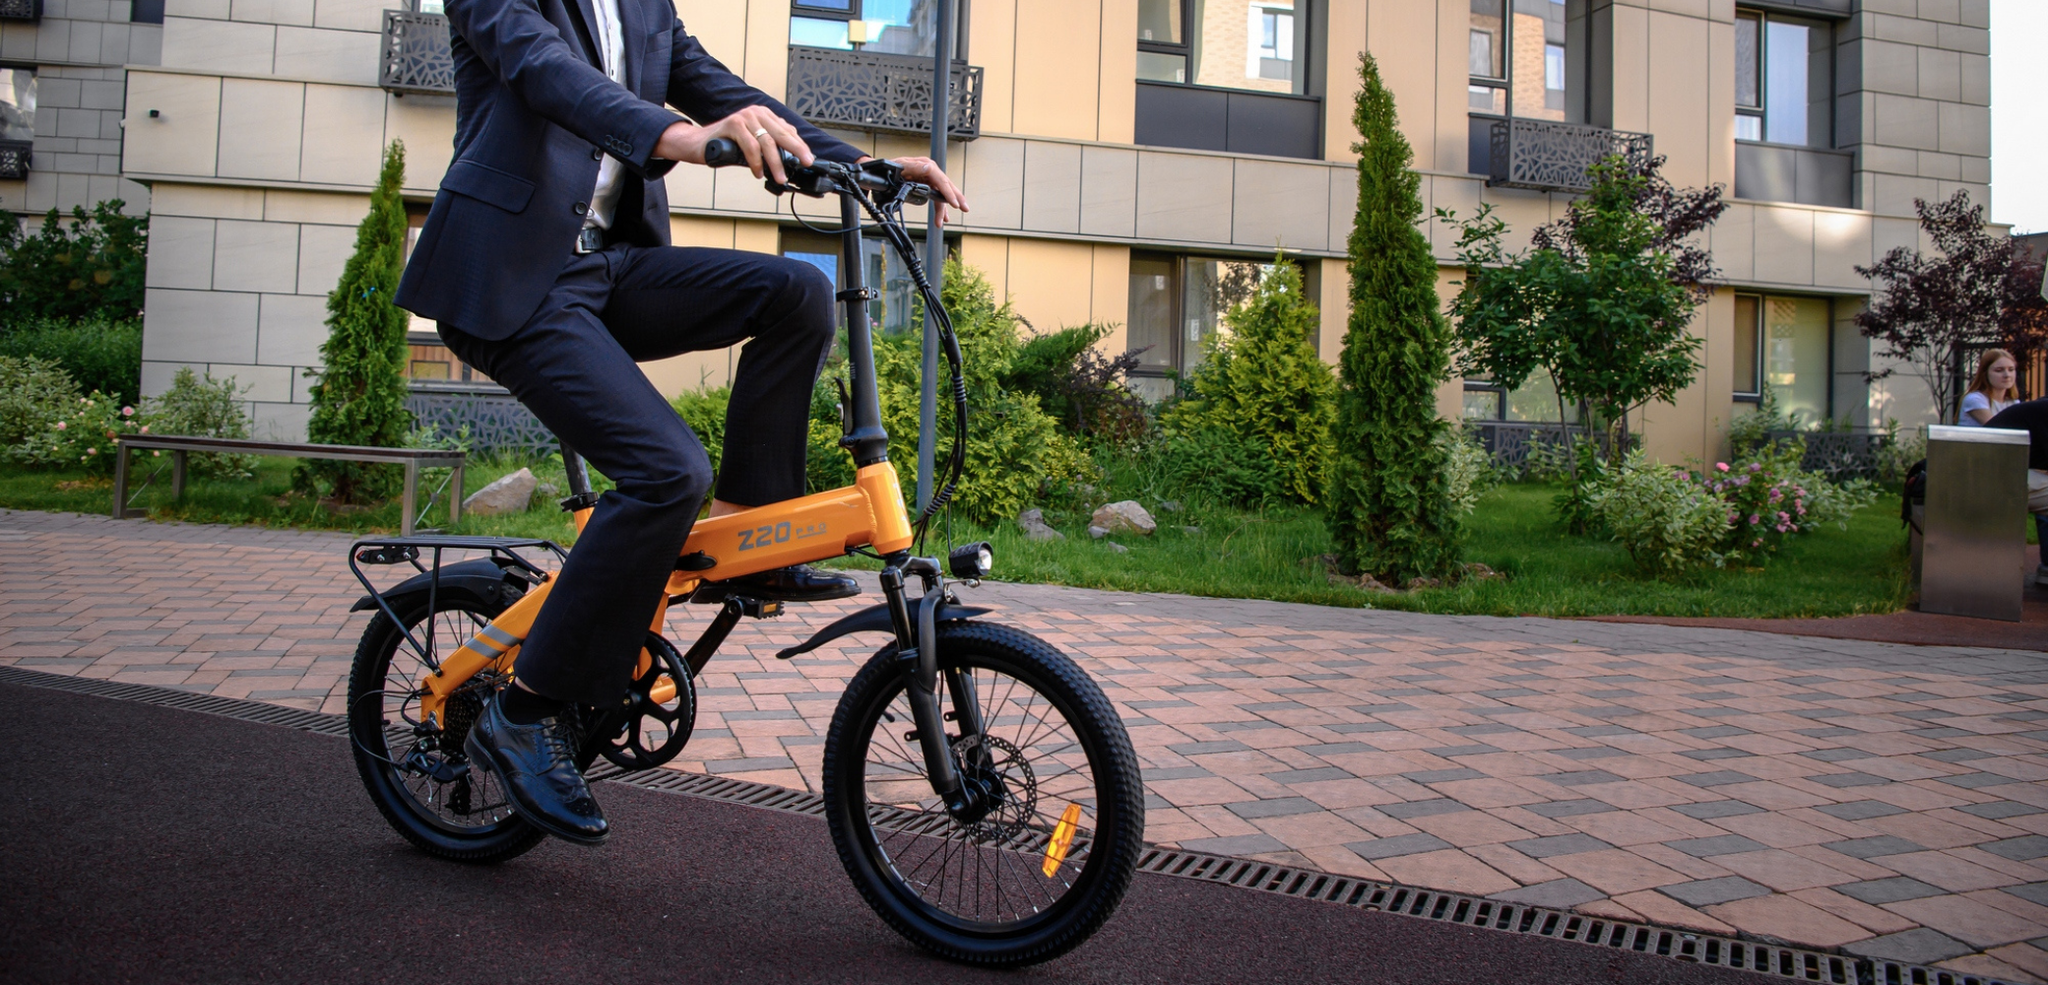
For e-bike commuting and leisure riding, upright is generally more comfortable. Many PVY models feature adjustable stems that let you raise or lower the handlebar to find your sweet spot.
Choose the Right Grips
* Ergonomic grips with wings or palm supports distribute pressure across a wider area, preventing numb hands.
* Gel grips provide extra cushioning; some are designed specifically for riders with larger or smaller hands.
* Thicker grips reduce hand fatigue if you have large hands; thinner grips work better for smaller hands.
Adjust Reach
If you're stretching too far to reach the handlebars, you'll experience back, neck, and hand discomfort. Options:
* Shorter stem (brings bars closer)
* Adjustable stem (PVY Z20 MAX and PRO EVO feature this)
* Swept-back handlebars that curve toward you
Check Your Angle
Your wrists should be in a neutral, relaxed position—not bent sharply up or down. Rotate the handlebars (or individual grips) until your wrists feel natural.

3. Dial In Tire Pressure for Your Weight and Terrain
This is one of the most overlooked comfort adjustments. Running too high or too low pressure can make your ride harsh, sluggish, or unstable.
The Comfort Principle
* Lower pressure means more comfort (the tire absorbs road vibration and bumps).
* Higher pressure means more efficiency (less rolling resistance).
For most riders on pavement, a pressure somewhere in the middle of the manufacturer's recommended range offers the best balance. On rough roads or trails, dropping pressure by 5–10 PSI can dramatically improve comfort without significantly affecting efficiency.
E-Bike-Specific Considerations
E-bikes are heavier—up to 70+ pounds. If you're a heavier rider or carry cargo, you may need to run at the upper end of the pressure range to prevent pinch flats. If you're lighter, you can run lower pressures for a plusher ride.
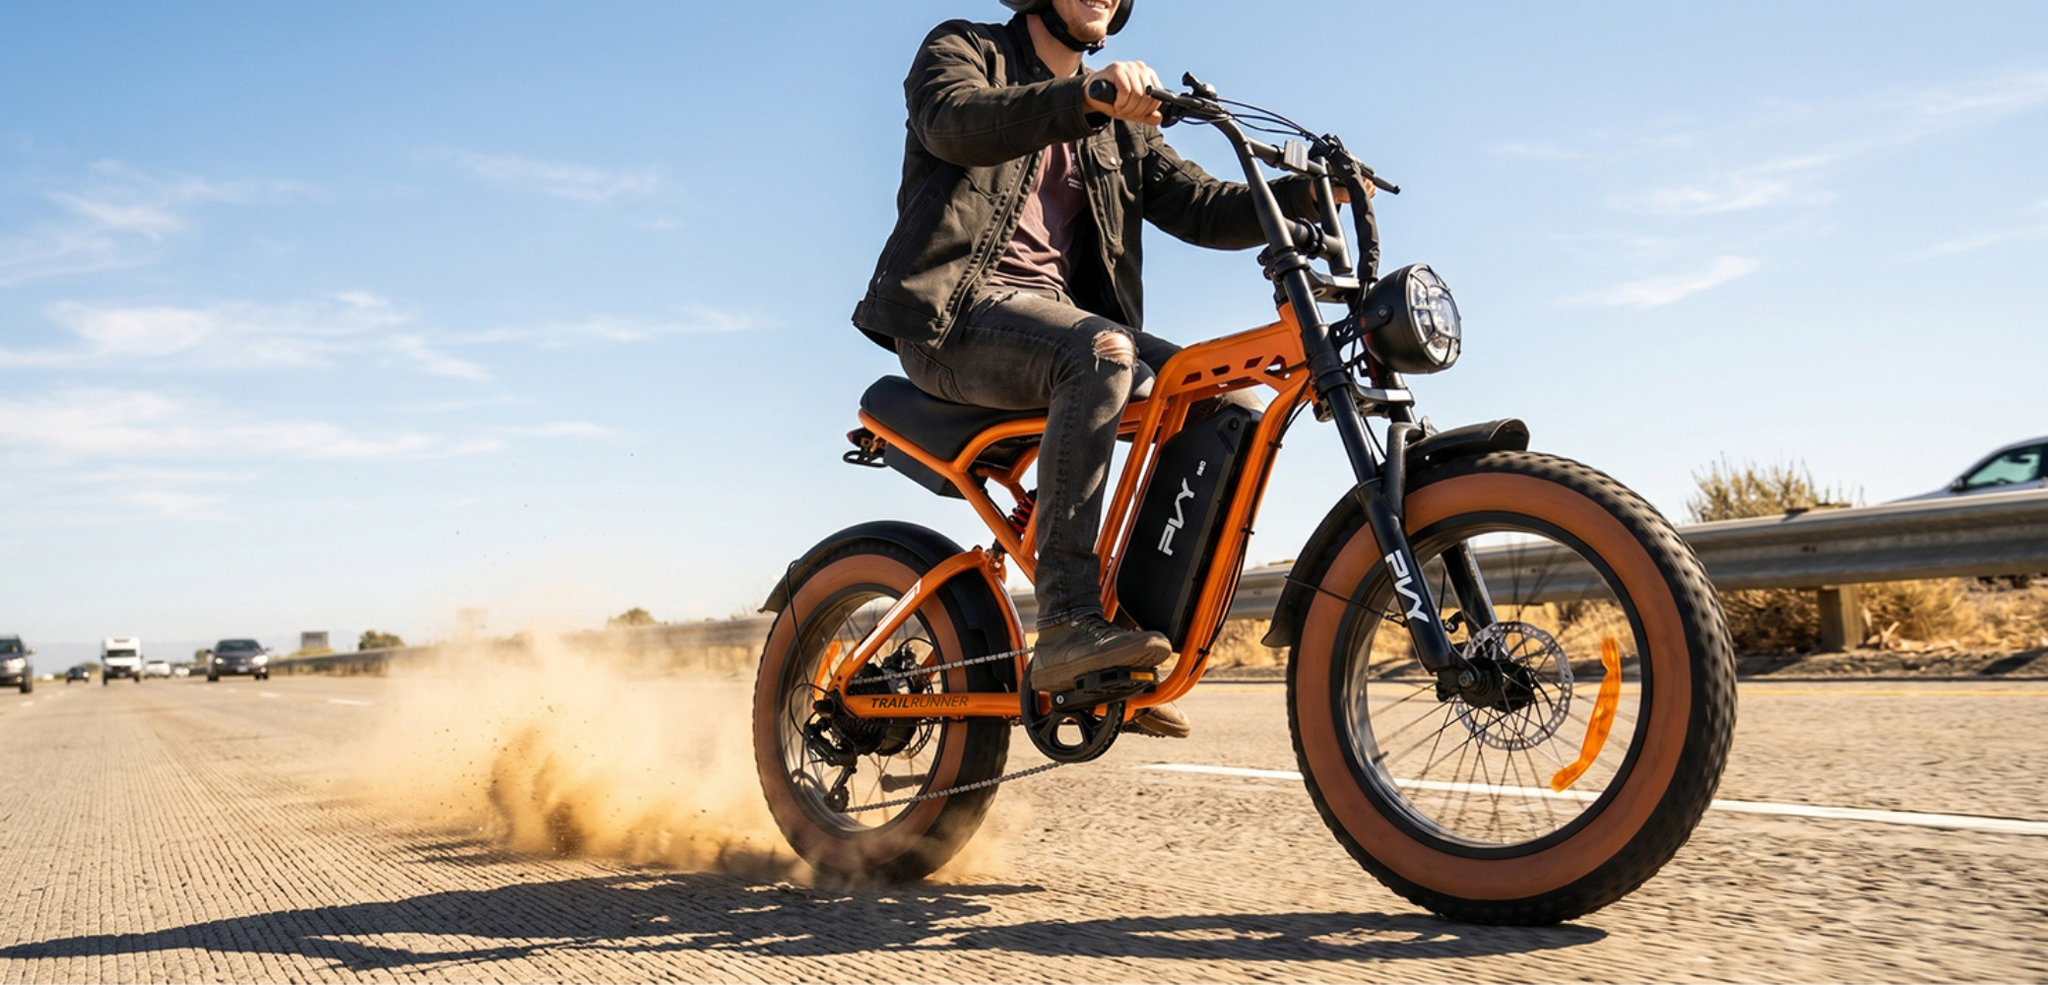
Fat Tire Riders
Fat tires (3.8–4.8 inches) are uniquely comfortable because they can run at very low pressures (5–15 PSI). The air volume acts as suspension. Experiment—you'll be amazed at how much comfort improves with a 2–3 PSI reduction.
Check Your Pressure Regularly
Tires lose 1–2 PSI per week naturally, and more in hot weather. A digital gauge is a tiny investment that pays off in consistent comfort.
4. Upgrade Your Pedals
Most stock pedals are functional but basic. They may not provide the grip, support, or platform size that maximizes comfort and control.
Choose the Right Pedals for You
Flat (platform) pedals (best for most riders):
* Wider platform – spreads foot pressure, reduces hot spots
* Replaceable pins – provide excellent grip even in wet conditions
* Large surface – lets you move your foot position slightly during long rides
Clipless pedals (for experienced riders):
Lock your foot in place for efficient power transfer
Require special shoes
Can feel more secure once you're accustomed to them
What to Look For
* Metal vs. nylon: Metal pedals are tougher but heavier; nylon composite pedals are lighter and absorb vibration well.
* Thin profile: A thinner pedal is less likely to strike the ground on cornering.
* Sealed bearings: Keep pedals spinning smoothly for years.
Don't Ignore Your Shoes
Your shoes are part of the pedal system. Stiff-soled cycling shoes transfer power more efficiently and reduce foot fatigue. Athletic shoes with flexible soles can cause foot cramping on long rides.
5. Use Your Assist Levels Strategically
This one is purely about technique—and it's free.
Change Assist for Comfort
* On bumpy roads or trails: Use higher assist so you can slow down, stand slightly, and let your legs absorb bumps without losing momentum.
* On headwinds: Crank up assist to reduce strain and maintain a smooth, comfortable cadence.
* On long climbs: Use steady assist to maintain a relaxed, seated position rather than standing and mashing.
Use Assist to Avoid Fatigue
Comfort isn't just about pressure points—it's about energy management. If you're pushing too hard, you'll get tired, tense up, and discomfort follows. Let the motor do more work on days you're tired or on long rides. Save your energy for when you need it.
Listen to Your Body
If you feel your shoulders creeping up toward your ears, you're tensing. Drop to a lower gear, increase assist, and consciously relax. A comfortable ride is a relaxed ride.

Bonus: Consider These Additional Upgrades
* Fenders: Keep road spray off you and your drivetrain—this reduces the need for harsh cleaning and keeps your ride pleasant.
* Rack and panniers: Carry your weight on the bike, not on your back. A heavy backpack on your shoulders is a direct route to back and neck pain.
* Suspension fork: If your model doesn't have one, consider an aftermarket suspension fork for the front wheel. It smooths out rough roads and trails.
* Gloves with gel padding: Reduce vibration-induced numbness and improve grip on long rides.
* Mirror: Not strictly a comfort item, but it reduces stress by allowing you to see traffic behind you without twisting your neck.
Quick Comfort Checklist
| Area | Action |
| Saddle | Check height, angle, fore-aft; consider a suspension seatpost |
| Handlebars | Adjust height, reach, grip angle; choose ergonomic grips |
| Tires | Lower pressure slightly for more comfort; check monthly |
| Pedals | Consider wider platform or better grip |
| Assist levels | Use higher assist on rough terrain and headwinds |
| Backpack | Switch to panniers or a rear rack |
| Gloves | Add gel-padded gloves for longer rides |
Final Thought: Comfort Keeps You Riding
A comfortable bike is a bike you want to ride. It's the difference between "I'll take the car today" and "I'm looking forward to my ride." The five tips above—saddle position, handlebar setup, tire pressure, pedal choice, and smart assist use—cost little to nothing but deliver huge returns in enjoyment.
Take an afternoon to dial in your setup. Your body will thank you, and your summer rides will be longer, smoother, and more joyful.